One of the biggest challenges that comes with landscape photography is being able to determine what locations to visit in a new area, or even new locations in an area where you're a regular. The goal of this post will be to share the strategies and methods I've learned to scout locations for photography and make the most out of your trip.

Boulder Beach, one of the first page results on Google if you search for "Acadia National Park photography." Photo by Aybars Gungor.
Step 1: Do some research
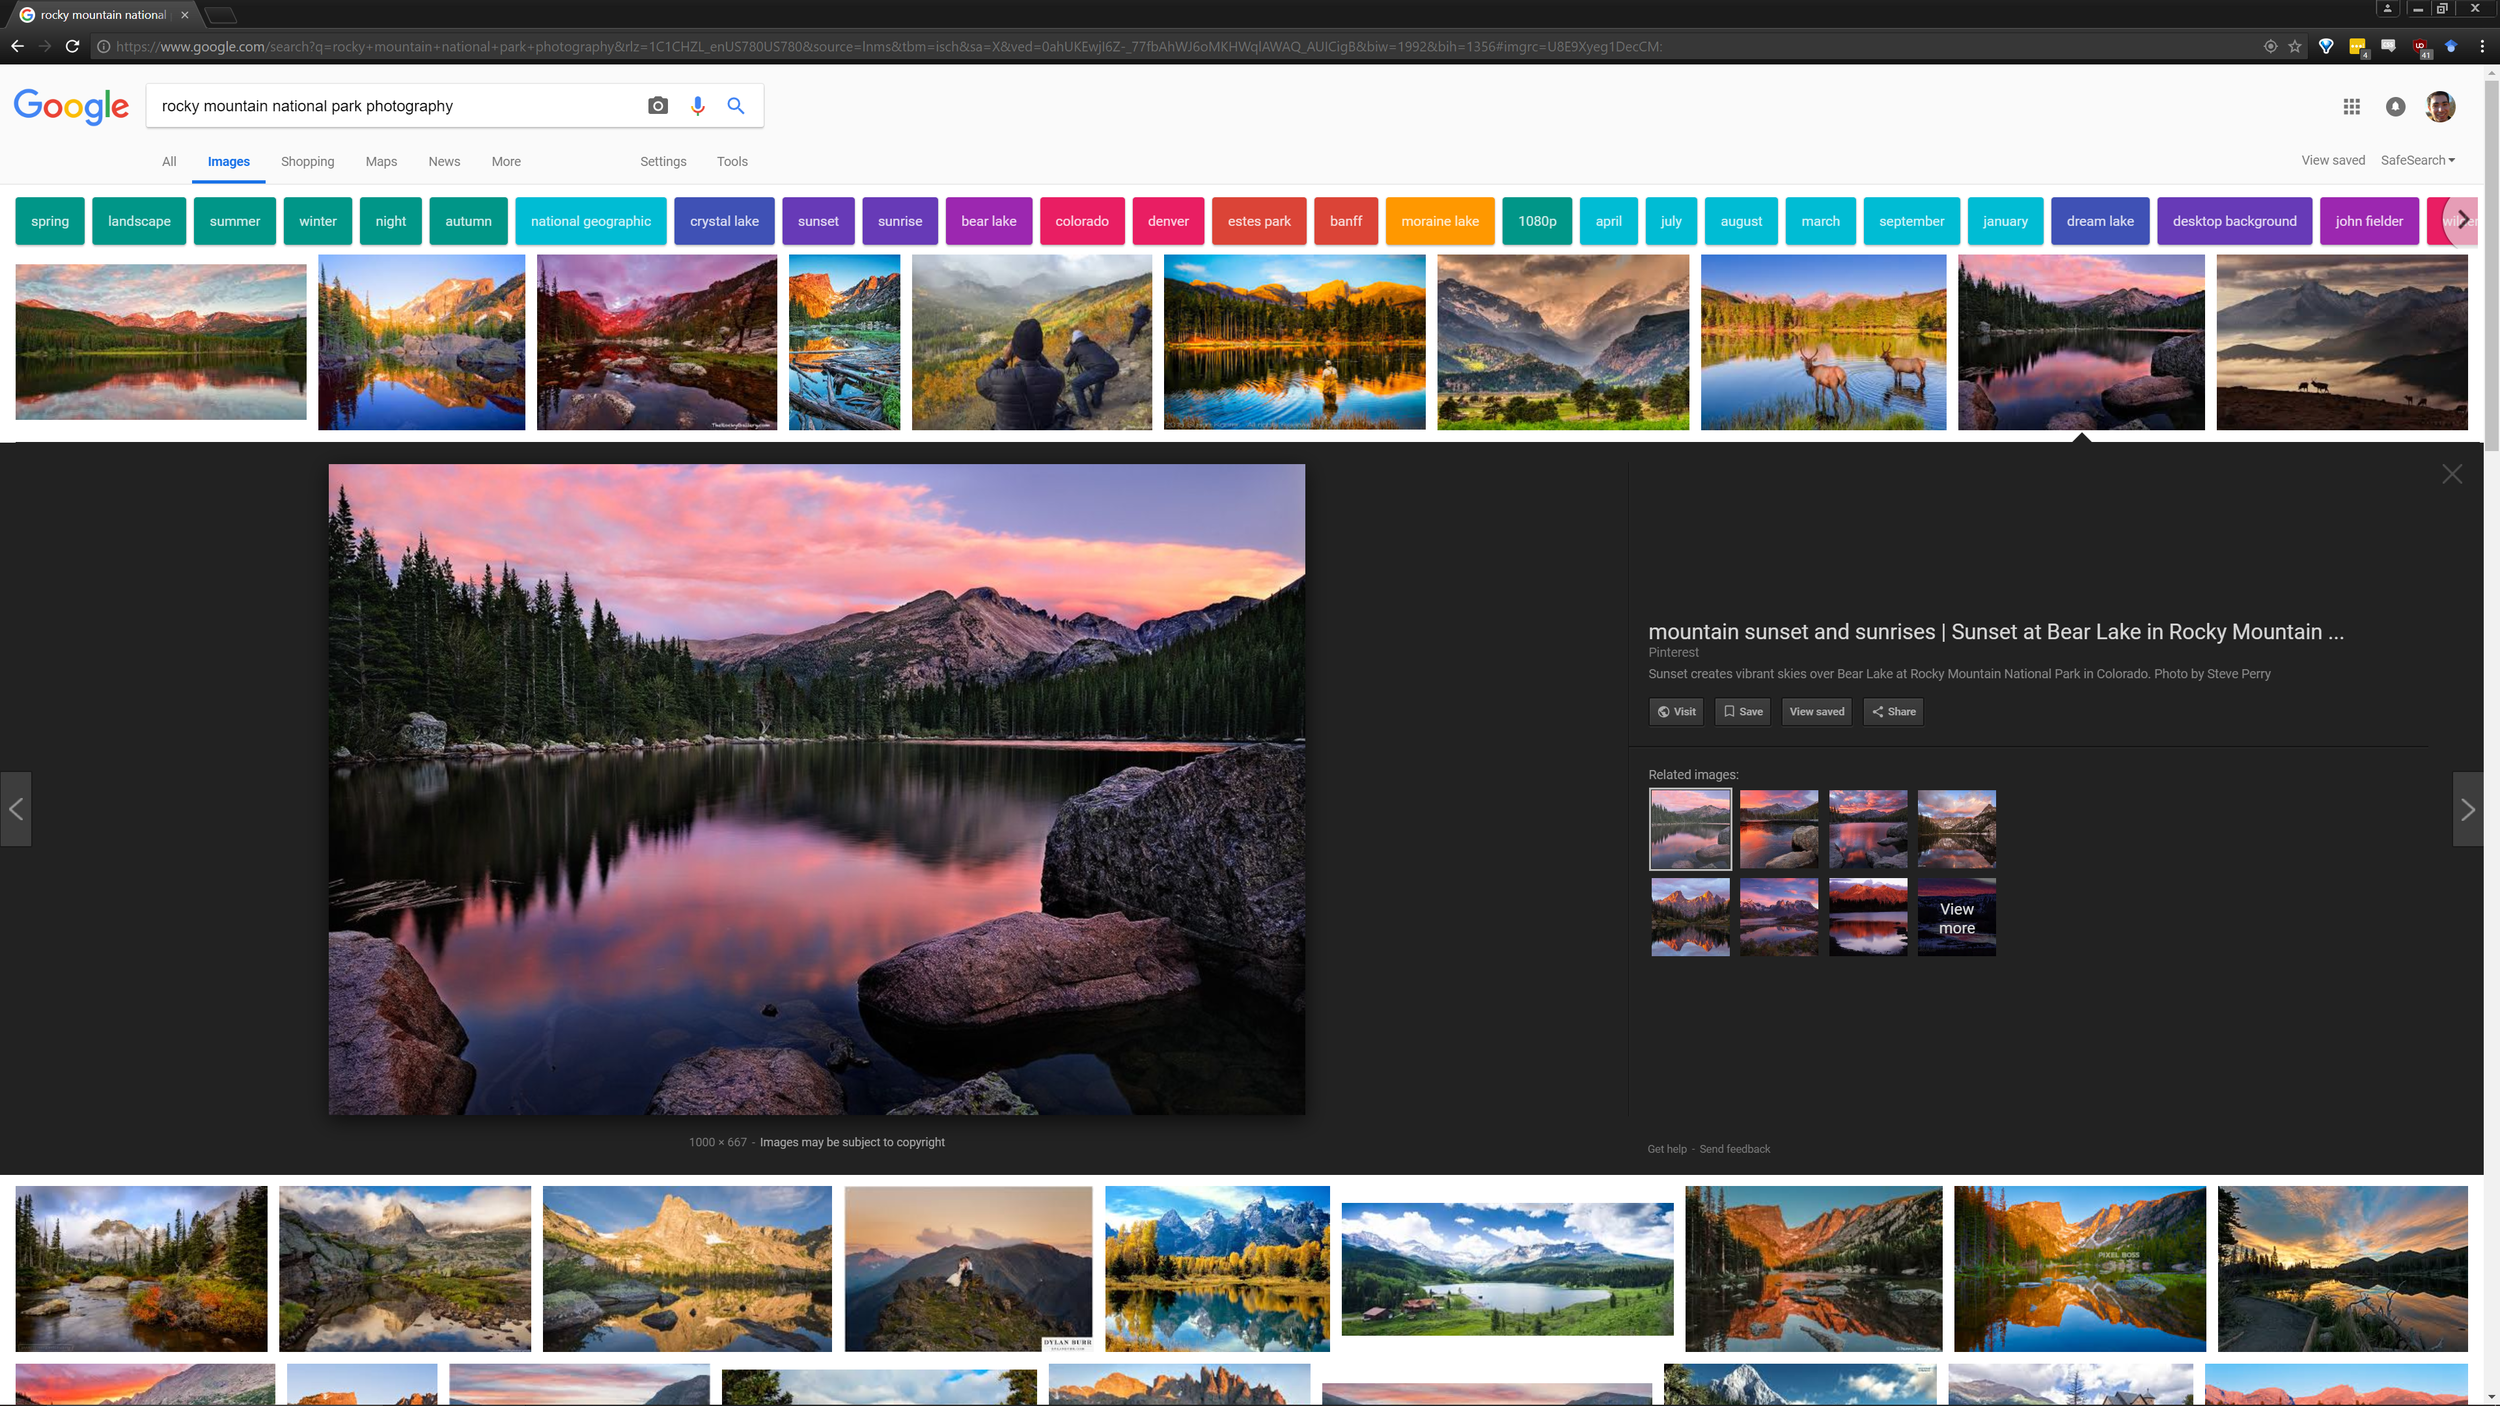
Whenever I'm trying to scout a new area, especially one I'm unfamiliar with, my first step will just be some basic Google searches. Let's say you want to plan a trip to Rocky Mountain National Park for landscape photography. Your first step could be as simple as Googling "Rocky Mountain National Park Photography". Check out the first page of results in both pages and images. You'll need to filter the images that are tagged incorrectly or irrelevant (searching for Rocky Mountain National Park gets a few images of Lake Moraine in Canada because "Rockies" and "National Park" are keywords we used). From here you can start doing different variations of your search. For instance:
- Rocky Mountain National Park winter photography (you can insert whatever season you'll be visiting)
- Rocky Mountain National Park photography
- Rocky Mountain National Park Colorado photography
- Rocky Mountain National Park landscape photography
- RMNP Colorado photography spots
- Rocky Mountain National Park sunrise/sunset photography
Try as many different variations as you care to do. Between poorly tagged images and websites and Google's search algorithm, you'll get often get different results with nearly identical searches — so don't hesitate to try many different combinations.
At this point you should have a basic list of spots and a better understanding of what the area offers. You could stop here, but you'd likely miss some of the more off-the-grid spots and info you'll get in the next steps.
If you're lucky you'll have a location tag right in the image, if not, you'll have to spend a little time cross-referencing other results to get a specific location.
Step 2: Narrow your search
So, you've got a few places in mind; now what? What I recommend is taking a few of those spots you decided on, and plugging them into 500px and Flickr. The search feature on 500px is especially powerful. You can see work that hundreds of photographers have done at that same location, and get a better grasp of what you can expect for the time of year and conditions you anticipate shooting in. Take the time to look through the captions, comments, and replies, as oftentimes you'll find useful information that you'd miss otherwise. Look at those photographers' portfolios and you can often find other shots they took in the same area that you may have missed in your original search.
- Instagram hashtags can also be a useful tool, though lacking in filtering capabilities which puts it a tier below 500px and Flickr for searches.
- I've also started using Reddit for searching purposes. R/earthporn is a good starting point. You can also find decent threads using the website-wide search feature, although this takes a bit more sifting through. Don't forget to look through the comments and author's post history, as well.

Always check the comments! The original poster will frequently give specific locations and advice based on conditions.
Step 3: Network!
This could be the most important step in scouting locations for photography thus far. By now you've likely identified a few photographers who have good work in the area — time to reach out and shoot them a message. Oftentimes your best resource will be locals in the area who can give you much more specific and relevant advice than what you find on the internet. I'll typically use Instagram DM's if they're active on the platform, but using their website form-fill or email address is also a good bet. Now's your opportunity to ask any questions you still have that are unanswered. You could also include a quick overview of what you plan on doing and ask if they have any advice. Always include a (genuine) compliment toward their work and an offer to meet up if feasible. People are more likely to reply and give you good info if you're willing to offer them something in return, even if that something is just appreciation for their work.
Don't get discouraged if you don't get responses from everyone. Some people are busy; some people would rather not give away their spots; and some just don't check their messages (guilty!).
Step 4: Break out the maps
After you've learned all you can using Google and other photographers, it's time to do some nitty-gritty research of your own. Get on Google Maps satellite view or Suncalc (my personal preference) and look at the local geography along trails or roads you'll be on. What's great about Suncalc is that you're able to easily see where the sun is in relation to where you'll be shooting through all hours of daylight. If you're shooting a mountain, knowing when and how the light will be hitting a peak is absolutely invaluable. Suncalc will help you figure this kind of stuff out.
Other things you might want to pay attention to while looking at a map of where you're visiting:
- Bodies of water (Streams, Rivers, Lakes etc)
- Overlooks or places with big elevation changes
- Changes in type/density of vegetation
- Anything you think might be cool
This can be a great way to do some off-the-grid scouting of locations for photography. Some of these spots might turn out to be total flukes, but often you can pre-scout some really awesome and otherwise unknown spots this way.
I'll also start making notes of what locations require what conditions. If a certain composition really needs light from sunrise hitting the mountains to work well, I'd make a note of that so I don't attempt to shoot that location on an overcast morning. Especially when you have limited time on a trip, taking the time to optimize your odds and understand what conditions you need is really valuable.

Knowing the timing and direction of light is really helpful in deciding where to shoot for sunrise or sunset.
Step 5: Be flexible!
A mistake I've made, and seen many others make, is over-researching. When you spend a significant amount of time looking up locations and what other photographers have done in the area, you can easily get into a position where you stifle your own creativity and simply go after shots others have already done. While there is nothing inherently wrong with shooting compositions similar to what other people have already done, it can often be more rewarding to go off the beaten path and try to pursue something that hasn't been done often — or at all. When I'm planning a photography trip I'll always try to make a list of some "safe" compositions and locations alongside some "risky" compositions and locations. This way I'll go for some of the low-hanging fruit (for instance, Dream Lake at sunrise in Rocky Mountain National Park) as well as trying some spots that I haven't seen done before.
A final word
There are many, many methods of scouting an area for photography, and many more I haven't even discussed (like books, tours from locals...). That said, this is the process that I've found the most success with, and I highly recommend using at least one of these when you're scouting a new location for photography. Give it a shot next time you're planning a trip and let me know if it was helpful!